Creating a new channel
Saiwal has significantly optimised the process of creating a new channel.
With the ‘classic’ themes, you simply enter a (long) channel name and a short name (handle/Webbie name). A channel is then created with the channel role specified by the system. Additional apps – some of which are important – are not installed.
This causes problems for beginners and newcomers, as you need to know how and where to change the channel role, where and how to install apps, and which apps are essential. Quite a few people think that Hubzilla doesn’t work properly in the Fediverse because they can’t connect to users on other services… simply because they haven’t installed the ‘ActivityPub Protocol’ app… because they didn’t even know that this is required for this purpose (participating in the Fediverse).
When you create a new channel using Solidified, a redesigned wizard is launched which guides you through these important steps.
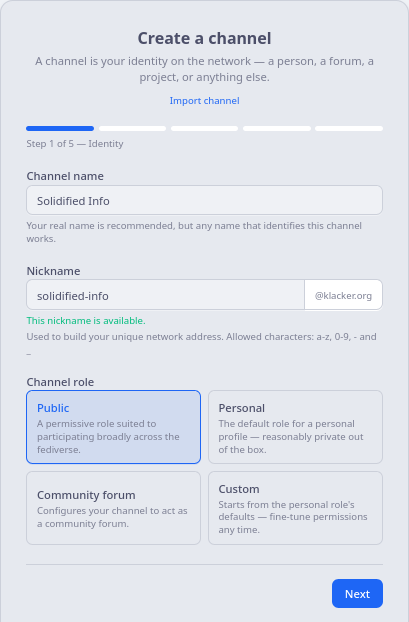
First, you’re asked for the channel name and nickname, as before. However, you’re also asked to select your preferred channel role.
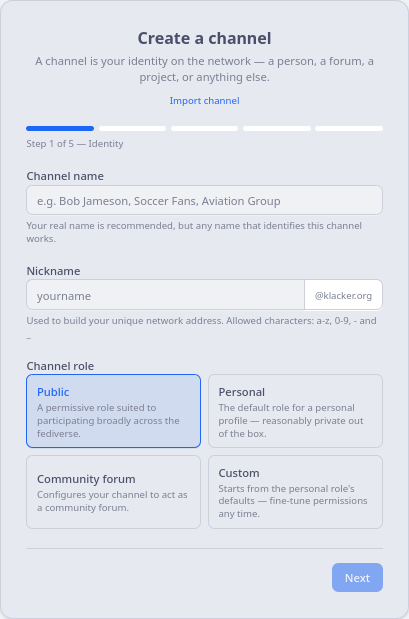
For example:
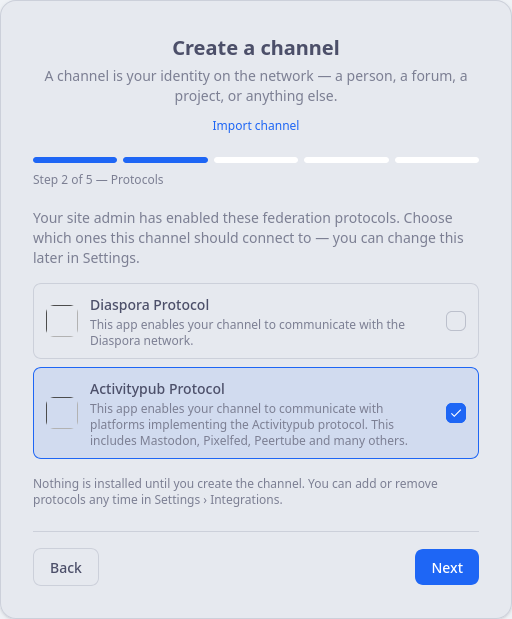
The next step allows you to enable further communication protocols, including ActivityPub. There are explanations of what these protocols are used for.
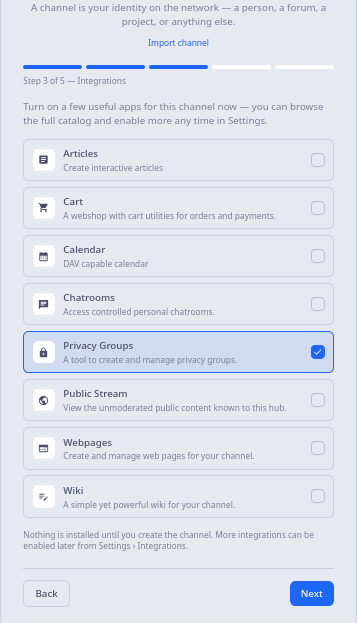
After that, a few useful apps are suggested for automatic installation.
In the step before the last, you can select the style of the Solidified theme.
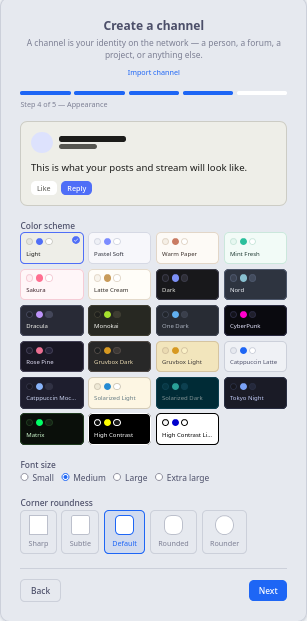
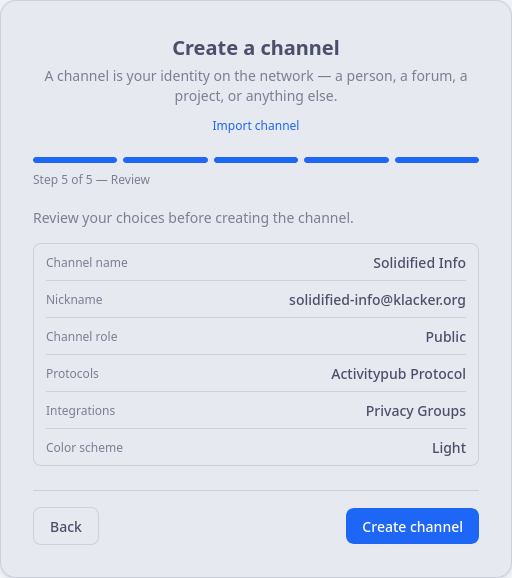
Finally, in the last step, the selected settings are summarised once more, and you can create the new channel by clicking the ‘Create channel’ button.
This wizard makes it much easier for beginners to get started, but is also incredibly useful for experienced users.